How to Use Text to Image AI Generator For Free
In this post, we’re going to use a pretrained text to image AI model to generate a custom picture for free. However, in order to replicate the following code you will need a reasonably good computer to execute it.
The model we’ll be using is Stable Diffusion model, which Keras generously open sourced it. Even more, it can generate quite decent images, considering it’s free.
Additionally, the model was trained on image and caption pairs. Furthermore, the diffusion part of the model uses noise as its starting point and makes a certain amount of steps to form the complete image.
Basically, it halucinates an image from noise and text prompt.
Coding text to image AI model
The following example is the simplest way we can implement Stable Diffusion model using Tensorflow and Keras. First of all, we need to download stable-diffusion-tensorflow package with pip.
pip install git+https://github.com/divamgupta/stable-diffusion-tensorflowNow we need to import all the necessary libraries, including the one we just installed, and pillow.
from stable_diffusion_tf.stable_diffusion import StableDiffusion
from PIL import Image
Next, we need to declare the model, where we can also customize the image sizes, and more. In this example, we’re going to set it to generate an image of size 512 pixels wide and 512 pixels high.
generator = StableDiffusion(
    img_height=512,
    img_width=512,
    jit_compile=False,
)
Now, we’re ready to start generating our images. Additionally, we can control a couple of settings besides the text prompt. We can also set batch size, which sets the number of images the model needs to generate. Obviously, the bigger the batch is, more time will it take for your computer to generate.
Furthermore, the generate function will always return a list of image tensors, which we need to process back into image format. For this part, we’ll use pillow library for converting the image and saving it in the local folder.
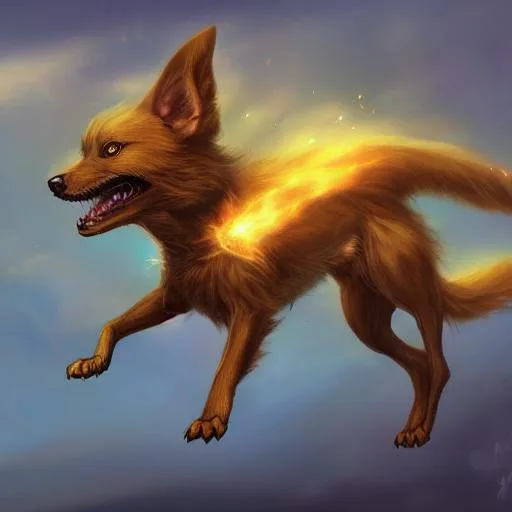
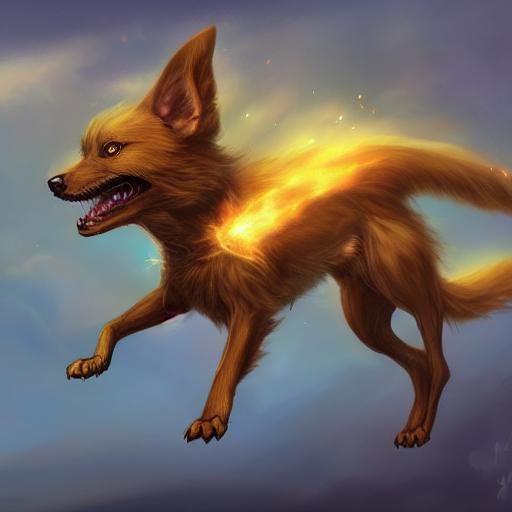
img = generator.generate(
    "cute magical flying dog, fantasy art, "
    "golden color, high quality, highly detailed, elegant, sharp focus, "
    "concept art, character concepts, digital painting, mystery, adventure",
    num_steps=50,
    unconditional_guidance_scale=7.5,
    temperature=1,
    batch_size=1,
)

Image.fromarray(img[0]).save('/generated.jpg')
There you go! When the algorithm finishes running a generated.jpg image should appear in the same folder as your script.
Conclusion
To conclude, we just demonstrated how to use a text to image AI model and implement it in the simplest way possible. I hope this tutorial helped you and lets you have some fun with stable diffusion.
If you want to learn more about machine learning you can also try out Brilliant, which offer interactive lessons.